
Few desserts strike the perfect balance between simplicity and elegance like Crème Brûlée. With its creamy vanilla-infused custard base and signature crackly sugar topping, this French classic has delighted food lovers for centuries. In this guide, we’ll break down the entire Crème Brûlée recipe step-by-step, explore its origins, variations, common pitfalls, and how to serve it like a true pâtissier.
Whether you’re preparing dessert for a romantic evening or aiming to impress guests at a dinner party, mastering this Crème Brûlée recipe will earn you instant culinary credibility.
What is Crème Brûlée?
Crème Brûlée, translating to “burnt cream” in French, is a custard-based dessert topped with a layer of caramelized sugar. The contrast between the smooth, rich custard and the crisp sugar shell is what makes it so iconic. Traditionally flavored with vanilla, it has evolved into a dessert canvas with endless flavor possibilities.
Originating in France, it became especially popular in fine dining during the 1980s and has remained a favorite ever since. Though it looks fancy, this Crème Brûlée recipe is surprisingly simple when done right.
Why This Crème Brûlée Recipe Works
This recipe balances ease and elegance. Here’s why it’s a favorite:
- ✅ Simple ingredients: Just five pantry staples — cream, egg yolks, sugar, salt, and vanilla.
- ✅ Perfect texture: A foolproof method ensures a silky, rich custard that’s never curdled.
- ✅ Reliable caramel crust: Tips for achieving that signature “crack” every time.
- ✅ Make-ahead friendly: Ideal for entertaining and holiday dinners.
Ingredients Breakdown
Before you start, make sure your ingredients are fresh and at the right temperature.
For the Custard Base
- 500 ml heavy cream (35% fat) – The key to the rich texture. Avoid light cream or milk substitutes.
- 1 vanilla bean (or 1 tbsp vanilla extract) – Vanilla is the star. Beans give a deeper, more nuanced flavor.
- 5 large egg yolks – Use fresh, room-temperature yolks for a smooth blend.
- 100 g granulated sugar – For sweetness and stability.
- Pinch of salt – Balances the sweetness and enhances flavor.
For the Topping
- 4 tbsp granulated sugar – To torch into a crisp caramel shell.
Step-by-Step Instructions
Follow these steps carefully for a flawless result.
Step 1: Preheat and Prep
Preheat your oven to 150°C (302°F). Arrange 4 ramekins in a deep baking dish or roasting pan.
Step 2: Heat the Cream
- Pour the cream into a saucepan.
- Split and scrape the vanilla bean, adding both pod and seeds to the cream.
- Heat over medium until it begins to steam — don’t boil.
- Let steep for 10 minutes if using real vanilla bean.
Tip: Letting the cream cool slightly before adding to eggs helps prevent curdling.
Step 3: Whisk the Yolks
- In a bowl, whisk together the egg yolks, sugar, and salt until light and creamy.
Step 4: Temper the Eggs
- Slowly pour the warm cream into the egg mixture while continuously whisking.
- This gentle technique keeps the eggs from scrambling.
Step 5: Strain the Custard
- Use a fine-mesh sieve to strain the mixture into a large jug or bowl.
- This removes any cooked egg bits and ensures a silky custard.
Step 6: Fill and Bake
- Divide the custard evenly into the ramekins.
- Carefully pour hot water into the baking dish around the ramekins (about halfway up their sides) to create a water bath.
- Bake for 35–40 minutes, or until the edges are set and the centers jiggle slightly.
Step 7: Chill
- Remove from the oven, cool to room temperature, then refrigerate for at least 2 hours or up to 2 days.
Step 8: Brûlée the Sugar
- Sprinkle 1 tbsp of granulated sugar over each custard.
- Use a kitchen torch to caramelize the sugar until golden brown and glassy.
- Wait a few minutes for the topping to harden before serving.
Equipment You’ll Need
- Ramekins (150ml size)
- Mixing bowls
- Whisk
- Fine-mesh sieve
- Roasting pan
- Kitchen torch (recommended for best results)
- Measuring jug
Expert Tips for Perfect Crème Brûlée
✔ Use fresh egg yolks – Avoid older eggs; they don’t emulsify as smoothly.
✔ Low and slow baking – Baking at a low temperature prevents the custard from becoming grainy.
✔ Use a water bath – It creates a gentle cooking environment, preventing cracking or curdling.
✔ Refrigerate uncovered briefly – To avoid moisture ruining the sugar top, remove the plastic wrap a bit before torching.
✔ Torch in circles – Move the flame in circles to ensure even browning.
Flavor Variations
Crème Brûlée is versatile. Once you’ve mastered the base, try these delicious twists:
- Coffee Crème Brûlée – Add 1 tsp instant espresso to the cream.
- Chocolate Crème Brûlée – Stir in 60g melted dark chocolate.
- Lavender Crème Brûlée – Infuse cream with culinary lavender buds.
- Coconut Crème Brûlée – Replace part of the cream with coconut milk.
- Orange Zest Crème Brûlée – Add a teaspoon of finely grated zest.
Serving & Presentation Ideas
Crème Brûlée is best served chilled with the top freshly torched. Here are some stylish presentation ideas:
- Serve with fresh berries for color and brightness.
- Add a mint sprig for an elegant garnish.
- Dust lightly with edible gold flakes for a fancy touch.
- Present on decorative dessert plates with a small demitasse spoon.
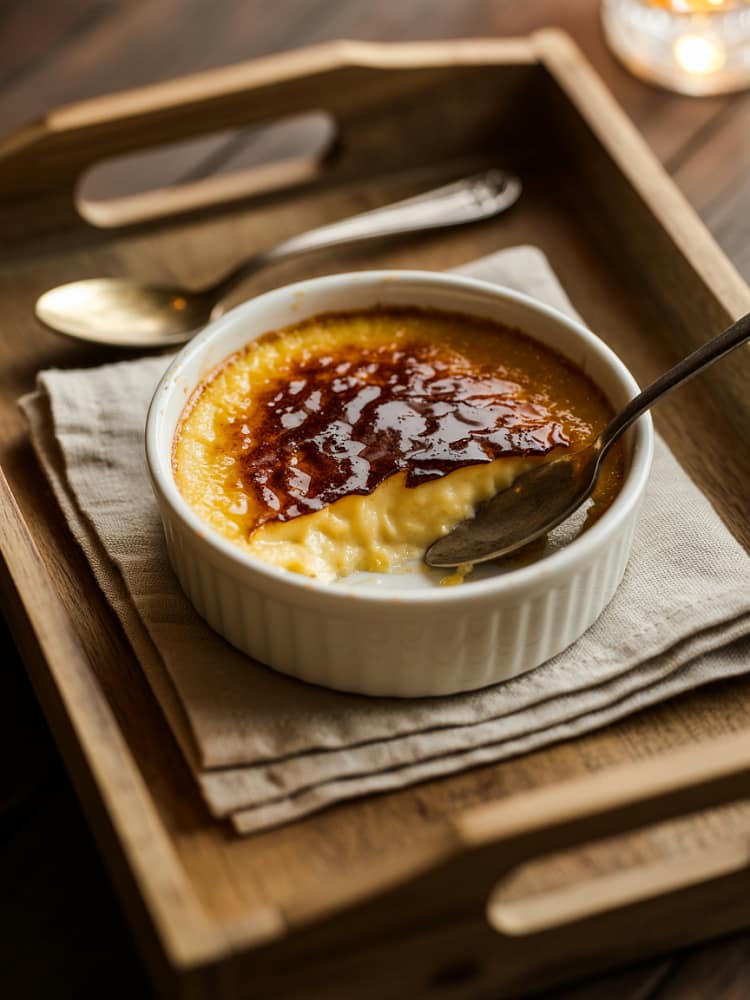
Pro tip: Crack the sugar top with the back of your spoon before diving in — it’s part of the fun!
Make-Ahead and Storage Tips
- Make-Ahead: Prepare the custard up to 2 days in advance. Just add sugar and torch before serving.
- Storage: Store ramekins in the fridge covered with plastic wrap. Do not brûlée the tops until ready to serve.
- Freezing: Not recommended. Freezing affects the custard’s texture and the sugar topping.
Final Thoughts
This Crème Brûlée recipe may seem intimidating, but with the right steps and attention to detail, it’s a dessert anyone can master. The luxurious combination of smooth custard and caramelized sugar creates an unforgettable experience — one that never goes out of style.
Creme Brulee Recipe
Indulge in the velvety elegance of this Creme Brulee recipe — a creamy vanilla custard with a perfectly crisp caramelized sugar top. This easy yet luxurious French dessert is ideal for entertaining or a romantic dinner at home.
Ingredients
For the Custard Base
For the Caramelized Sugar Topping
Instructions
Preheat and Prepare
-
Preheat oven to 150°C (302°F). Place 4 ramekins (about 150ml each) into a deep baking tray or roasting pan.
Heat the Cream
-
In a medium saucepan, combine heavy cream and the scraped vanilla bean (or extract). Heat gently over medium heat until steaming but not boiling. Remove from heat and let steep for 10 minutes if using vanilla bean for deeper flavor.
Make the Egg Mixture
-
In a mixing bowl, whisk egg yolks, granulated sugar, and salt until pale and slightly thickened. Slowly pour the warm cream into the yolks while whisking constantly to prevent curdling.
Strain the Mixture
-
Strain the custard through a fine-mesh sieve into a large measuring jug to remove any egg solids or vanilla pod remains.
Fill the Ramekins
-
Carefully pour the custard into the ramekins, dividing evenly.
Bake in a Water Bath
-
Pour hot water into the baking tray until it reaches halfway up the sides of the ramekins. Gently transfer to the oven and bake for 35–40 minutes, until the custards are just set with a slight jiggle in the center.
Chill
-
Remove ramekins from the water bath and let cool at room temperature for 30 minutes. Cover with plastic wrap and refrigerate for at least 2 hours or until fully set (up to 2 days).
Caramelize the Top
-
Just before serving, sprinkle 1 tbsp of sugar evenly over each custard. Use a kitchen torch to melt and caramelize the sugar until golden and crisp. Allow the sugar top to harden for 2–3 minutes before serving.
Note
Storage: Keep the custards refrigerated without the sugar topping for up to 2 days. Caramelize sugar just before serving for best texture.
Make-Ahead Tip: You can prepare the custard up to 48 hours in advance and brulée when needed.
Flavor Variations: Add orange zest, espresso, or a splash of liqueur (like Grand Marnier) to the cream for a twist.
No Torch? Use the broiler (oven grill) for a few minutes, watching closely to prevent burning.


