
Cake pops are miniature desserts made by combining crumbled cake with frosting, shaping them into balls, and dipping them into a coating—usually chocolate or candy melts. Popularized by bakeries like Starbucks and DIYers on Pinterest, cake pops have become a trendy treat for events or casual indulgence.
They’re not only easy to customize in flavor and decoration but also ideal for portion control. Whether you prefer classic vanilla or rich red velvet, this Cake Pops Recipe can be adapted to suit your taste and creativity.
Ingredients & Tools You’ll Need
Ingredients:
- 1 box of cake mix (or homemade cake—your choice)
- Ingredients required for the cake mix (typically eggs, oil, and water)
- 1/2 to 3/4 cup of frosting (store-bought or homemade)
- 12 oz candy melts or chocolate chips (white, milk, or dark chocolate)
- Sprinkles, nuts, coconut, or other toppings (optional)
Tools:
- Baking pan (9×13 works well)
- Mixing bowls
- Electric mixer or whisk
- Spatula
- Cookie scoop or spoon
- Lollipop sticks
- Styrofoam block or cake pop stand
- Microwave-safe bowl or double boiler (for melting chocolate)
- Parchment paper
Step-by-Step Cake Pops Recipe Instructions
Step 1: Bake the Cake
Prepare the cake according to the package instructions or your homemade recipe. Let it cool completely before moving on.
Step 2: Crumble the Cake
Once cooled, crumble the cake into a large bowl using your hands or a fork. You’re aiming for fine, breadcrumb-like consistency.
Step 3: Add Frosting
Add 1/2 cup of frosting to the cake crumbs and mix thoroughly. Add more if needed, a tablespoon at a time. The mixture should hold together when pressed but not be too sticky.
Step 4: Shape the Cake Balls
Use a cookie scoop or tablespoon to portion out the mixture and roll it into uniform balls. Place them on a parchment-lined baking sheet.
Step 5: Chill
Refrigerate or freeze the cake balls for 15–30 minutes. They should be firm but not frozen solid.
Step 6: Insert Sticks
Melt a small amount of chocolate and dip one end of a lollipop stick into it. Immediately insert it halfway into a chilled cake ball. Repeat with all balls. This helps the stick adhere.
Step 7: Dip the Cake Pops
Melt the rest of your candy melts or chocolate. Dip each cake pop straight down, ensuring it’s fully coated. Gently tap off excess coating.
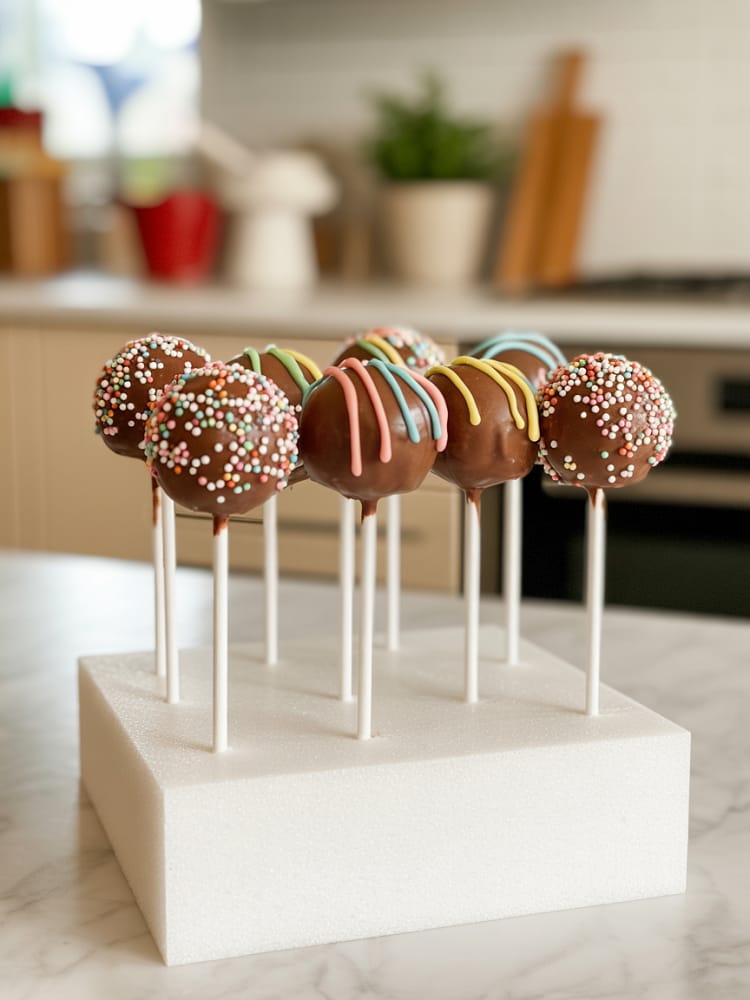
Step 8: Decorate
While the coating is still wet, add sprinkles or toppings. Place the cake pops upright in a Styrofoam block or stand until set.
Expert Tips for Success
- Don’t over-mix frosting: Too much makes the mixture mushy and hard to shape.
- Use quality chocolate: It improves both flavor and coating consistency.
- Dip, don’t swirl: Swirling can cause the cake ball to fall off the stick.
- Work in batches: Keep unused cake balls in the fridge so they stay firm.
- Thin chocolate if needed: Add a teaspoon of vegetable oil to make dipping smoother.
Flavor and Decoration Variations
Flavor Combinations:
- Red velvet cake + cream cheese frosting + white chocolate coating
- Chocolate cake + peanut butter frosting + milk chocolate coating
- Lemon cake + vanilla frosting + white chocolate with yellow sprinkles
Decoration Ideas:
- Drizzled designs with contrasting chocolate
- Themed sprinkles for holidays
- Crushed candy toppings like peppermint or Oreos
- Edible glitter for a glamorous touch
Let your creativity run wild—the basic Cake Pops Recipe is just the starting point.
Troubleshooting Common Issues
Problem: Cake pops are falling off the stick
Solution: Ensure they’re properly chilled and the stick was dipped in chocolate first.
Problem: Coating is too thick or clumpy
Solution: Add a teaspoon of vegetable oil or use a candy coating thinner.
Problem: Cracks in the coating
Solution: Cake balls were too cold when dipped; allow them to sit out a few minutes.
Serving and Presentation Ideas
Cake pops are perfect for:
- Dessert tables at parties
- Party favors wrapped in clear bags
- Bouquets arranged like flowers
- Gift boxes for holidays or birthdays
Display them in themed holders or color-match them to your event for extra flair.
Storage and Shelf Life
At Room Temperature:
Store in an airtight container for up to 2 days.
Refrigerated:
Lasts 5–7 days; bring to room temp before serving.
Frozen:
Uncoated cake balls can be frozen for 1–2 months. Thaw before dipping.
Final Thoughts
This Cake Pops Recipe offers a fun, flexible way to create treats that are as beautiful as they are delicious. With just a few ingredients and some creativity, you can whip up a batch that fits any theme or occasion. Whether you’re a beginner or a seasoned baker, mastering cake pops will add a charming touch to your dessert repertoire.
Cake Pops Recipe
These classic chocolate cake pops are bite-sized treats made with moist chocolate cake, creamy frosting, and a crisp candy coating—perfect for parties, birthdays, or gifting. Easy to customize and fun to make, these cake pops are both kid- and crowd-friendly.
Ingredients
For the Chocolate Cake Base
For the Frosting
For the Coating and Decoration
Instructions
Bake the Chocolate Cake
-
Preheat the oven to 175°C. Grease and line a 9x9 inch baking pan. In a large mixing bowl, whisk together flour, sugar, cocoa powder, baking powder, baking soda, and salt. Add in the egg, buttermilk, and vegetable oil. Mix until smooth. Gradually add hot water and vanilla. Stir to combine. Pour the batter into the prepared pan and bake for 30 minutes, or until a toothpick comes out clean. Cool completely.
Make the Frosting
-
In a medium bowl, beat the butter until creamy. Add powdered sugar gradually. Mix in heavy cream, vanilla, and salt. Beat until light and fluffy.
Form the Cake Balls
-
Crumble the cooled cake into a large bowl until fine. Add 3–4 tablespoons of frosting and mix with your hands until the mixture is moist but not sticky. Roll into 1-inch balls and place on a parchment-lined tray. Chill in the fridge for 30–60 minutes.
Insert the Sticks
-
Melt a small amount of candy melts. Dip the tip of each lollipop stick into the melt, then insert it halfway into each cake ball. This helps secure the stick. Chill for another 15 minutes to set.
Coat the Cake Pops
-
Melt the remaining candy melts with vegetable shortening (if using) in a deep bowl. Dip each cake pop into the melts, swirling gently. Tap off excess coating and immediately decorate with sprinkles. Stick each pop upright into a foam block or stand to dry.
Note
You can use boxed cake mix and store-bought frosting for a shortcut.
Don’t overmix the cake and frosting—start with a small amount and add more if needed.
Store in an airtight container in the fridge for up to 5 days.
For a holiday version, use themed candy melt colors and decorations.


