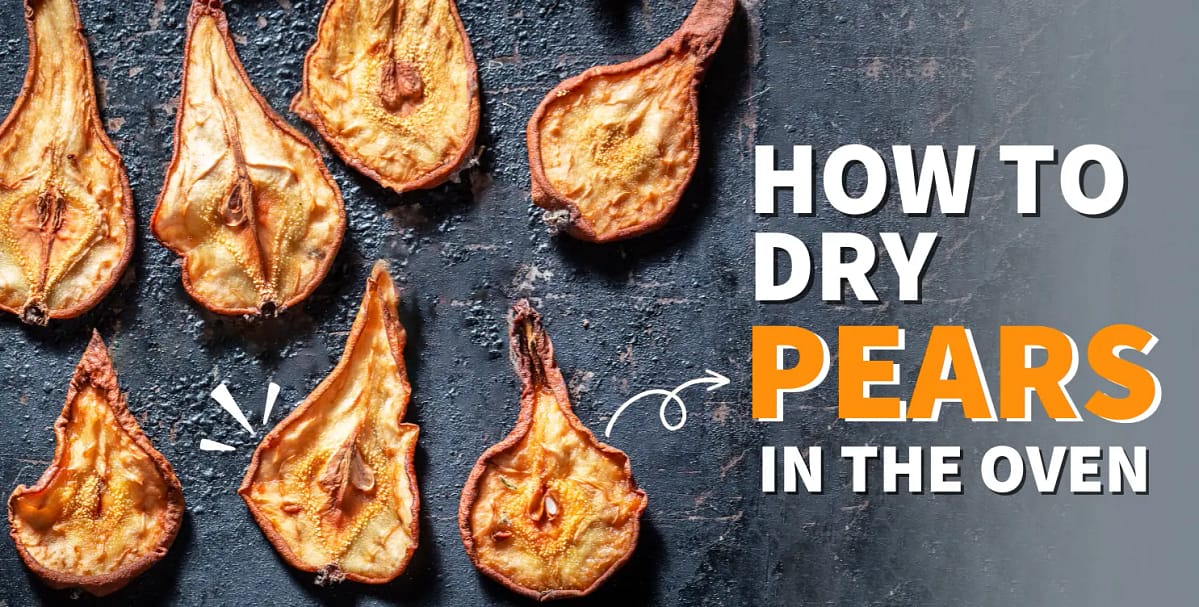
I absolutely love having the taste of summer pears available all year long! Drying them in the oven is so much easier than you’d think, and it’s such a rewarding project. Not only do you end up with a healthy and delicious snack, but it’s also so versatile. I like to choose a handful for a quick snack, toss them into my morning oatmeal, and even add them to savory dishes for a hint of unexpected sweetness. Once you try it, you’ll really love it so much and you’ll be hooked! Let me show you how to dry pears in the oven. Turn those ripe pears into chewy, sunshine-filled treats. So, you can enjoy it anytime.
Table of Contents
Selecting ripe pears

I’ve always been a sucker for the sweet, juicy taste of pears, especially when they’re in season. But I crave that flavor all year round. That’s why I started drying them in my oven; it’s surprisingly simple, and the result is a chewy, flavorful snack that’s perfect for on-the-go or adding to my granola.
Picking the right pears is a bit of an art, but once you get the hang of it, you’ll be a pro. You want pears that are ripe but still have a bit of firmness to them—think that perfect avocado texture. Give them a gentle squeeze; you should feel a little bit of give, but not too much. And don’t forget to sniff them! A ripe pear will have a sweet, almost floral fragrance.
I’ve always had good luck with Bartlett and Anjou pears for drying. They’re naturally sweet and juicy, and drying them just intensifies those flavors. But you can experiment with other varieties also.
Preparing pears for drying
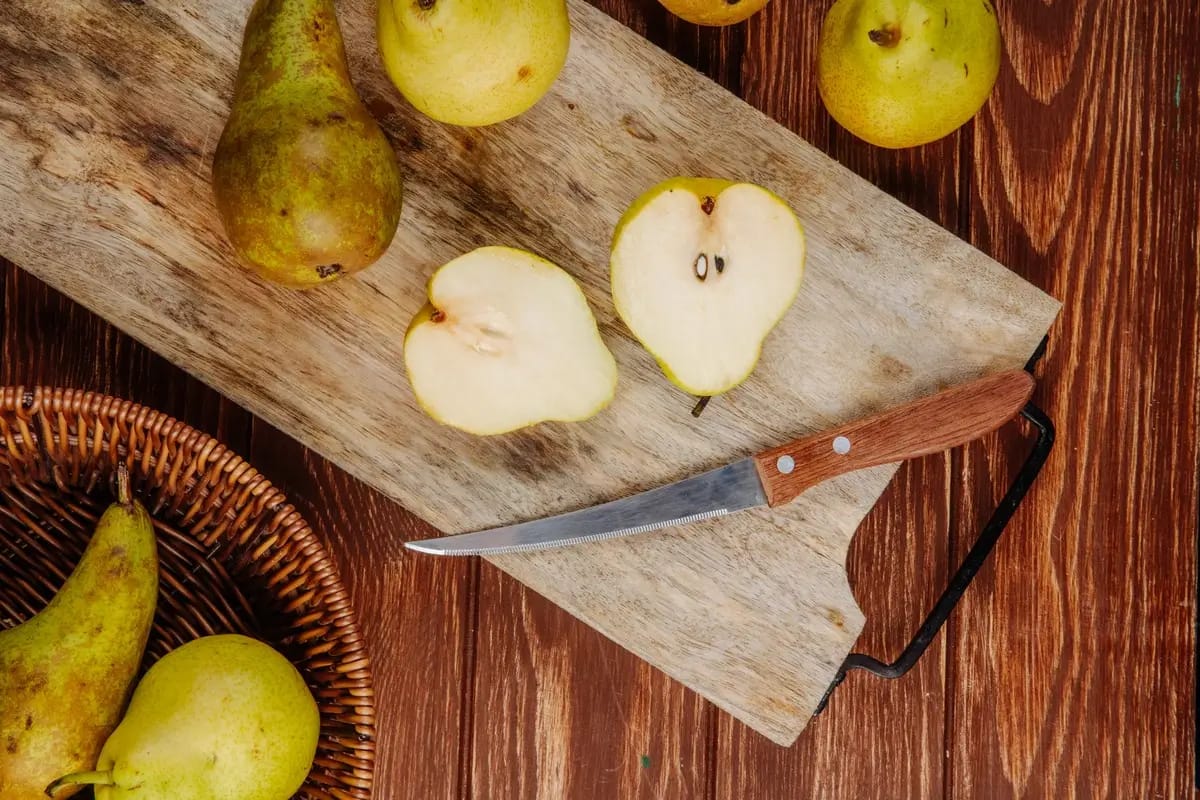
First give those pears a good rinse under cool water. Get rid of any dirt or grime that might be hanging on. Then, pat them dry with a clean towel. We want them nice and dry before we start slicing.
Now turn these pears into beautiful, thin slices. If you have a mandoline slicer, this is really helpful. It’ll give you perfectly even slices every time. But if you don’t have one, no worries! A sharp knife and a steady hand will work too. Just aim for slices about 1/8 inch thick.
If you want to keep those pear slices from turning brown, give them a quick dip in some lemon juice. It’s not absolutely necessary, but it helps preserve their color and adds a subtle brightness to the flavor.
Oven temperature and timing
Now that our pears are prepped and ready, it’s time to fire up the oven! The trick here is low and slow. You want to set your oven to its lowest setting, usually somewhere between 175°F and 200°F (80°C to 95°C). This gentle heat will slowly dehydrate the pears without cooking them, preserving all those delicious natural flavors and nutrients.
Now line baking sheets with parchment paper. This will save you a ton of scrubbing later on because the pears won’t stick. Take your time and arrange those pear slices in a single layer on the baking sheets. Don’t overcrowd them; they need space to properly dry out. If you like crispier dried pears, you can put a cooling rack on top of the baking sheet before adding the pear slices.
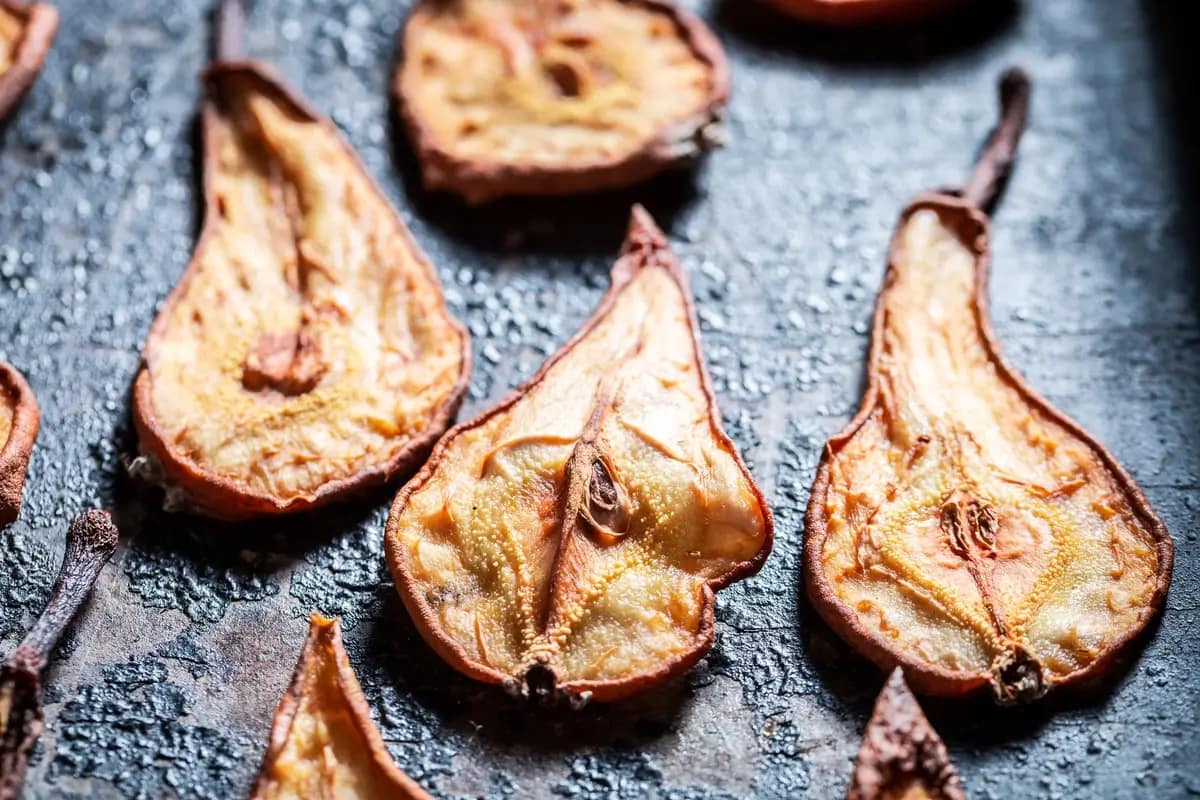
The hardest part is waiting! The drying time can be anywhere from 6 to 8 hours, but every oven is different, so keep an eye on them. You’ll know they’re done when they’re leathery and bendy, with no moisture left.
Monitoring the drying process
It’s good to keep an eye on pears as they dry. After a few hours, give them a flip. This makes sure they dry evenly on both sides, kinda like getting a good tan. If you know your oven has any hot spots, give those trays a little rotation too, just to be safe.
To know when they’re done, I go by feel. The pears should be leathery and bendy, but not brittle. If they still feel moist at all, they need more time. Remember, every oven is different, so don’t be afraid to check on them regularly. It’s better to be safe than sorry.
Storing dried pears
Once your pear slices are perfectly dried and leathery, take them out of the oven and let them cool completely. This is super important because if you pack them away while they’re still warm, any leftover moisture can lead to mold.
For storage, glass jars with airtight lids are good. They’re perfect for keeping those dried pears fresh and delicious for months. You can also use resealable bags, but I find that jars are easier to stack and store in my pantry.
Find a cool, dark spot for storage. Your pantry or a kitchen cupboard, away from any sunlight or heat, is perfect. Just pop them in an airtight container; a mason jar works great, or even a zip-top bag.
You’ve got your own personal stash of sunshine to snack on whenever the mood strikes.
Creative uses for dried pears

To add a burst of fruity flavor and chewy texture you can toss them to your homemade trail mix, this perfectly complements the nuts and seeds. You can also add some chopped dried pears to your morning oatmeal or yogurt. It’s like a little taste of summer in the middle of winter!
And don’t think they’re just for sweet treats! You can add them into savory dishes like chicken tagine or roasted vegetables. The subtle sweetness of the pears pairs surprisingly well with the warm spices and earthy flavors.
If you’re craving a softer pear, you can rehydrate them by soaking them in hot water or juice for a few minutes. It’s a great way to add them to baked goods like muffins or quick breads.
Conclusion: Enjoy your homemade dried pears.
Drying pears at home might seem intimidating at first, but it’s surprisingly easy and so rewarding! The possibilities are endless! You can munch on them straight from the jar, toss them into your oatmeal or granola, or even bake them into cookies and pies. Experiment with different pear varieties and discover your new favorites. Once you taste those homemade dried pears, you’ll be hooked! It’s a simple pleasure that’s sure to become a new family favorite!
FAQ
Do I need to peel the pears before drying them?
It’s not necessary to peel the pears before drying, but you can if you prefer.
How should I slice the pears for drying?
Slice the pears into thin, even slices for more even drying.
Can I add any flavorings or spices to the pears before drying?
Yes, you can sprinkle the pears with cinnamon, nutmeg, or other spices before drying to add flavor.
Are dried pears healthy snacks for kids and adults alike?
Yes, dried pears make for a healthy and delicious snack option for both kids and adults.
Are there any special tips for drying pears in the oven?
Make sure to space the pear slices evenly on the baking sheet and rotate the sheet halfway through the drying process for even drying.