
Pumpkin pie is more than just a dessert. It’s a warm, comforting symbol of fall and a staple at any Thanksgiving gathering. From its flaky, buttery crust to the creamy, spiced pumpkin filling, this pie is all about balance and tradition. In this comprehensive blog post, we’ll guide you step-by-step through making the perfect pumpkin pie from scratch, offering expert tips, detailed explanations, and tasty variations along the way.
Why This Pumpkin Pie Recipe Stands Out
Our pumpkin pie recipe is the result of years of refinement in the kitchen. It strikes the perfect balance between sweet and spiced, creamy and firm, classic and modern. Whether you’re baking it for a family holiday meal or a cozy autumn treat, this recipe ensures consistent, delicious results every time.
What makes this pumpkin pie recipe exceptional?
- Made from scratch: Including a homemade pie crust for superior taste and texture.
- Balanced flavors: A curated blend of spices that complement, not overpower, the pumpkin.
- Foolproof texture: Smooth and creamy with a gently set center.
Ingredients You’ll Need
For the Pie Crust:
- 1 1/4 cups all-purpose flour (sifted)
- 1/2 tsp salt
- 1 tbsp granulated sugar
- 115 g unsalted butter (cold and cubed)
- 3–4 tbsp ice water
For the Pumpkin Filling:
- 2 cups pumpkin puree (not pumpkin pie filling)
- 3/4 cup brown sugar (packed)
- 2 large eggs
- 1 cup evaporated milk
- 1 tsp ground cinnamon
- 1/2 tsp ground ginger
- 1/4 tsp ground cloves
- 1/4 tsp ground nutmeg
- 1/4 tsp salt
- 1 tsp vanilla extract
Optional Garnish:
- Whipped cream
- Ground cinnamon or nutmeg for dusting
Step-by-Step Instructions
Step 1: Making the Pie Crust
Making a homemade crust adds incredible flavor and texture.
- In a large bowl, combine flour, salt, and sugar.
- Add cold butter and use a pastry cutter or your fingers to blend until the mixture resembles coarse crumbs.
- Add ice water a tablespoon at a time until the dough just comes together.
- Shape into a disc, wrap in plastic, and refrigerate for 30–60 minutes.
Step 2: Preparing the Pumpkin Filling
This is where the magic happens — creamy, spiced goodness that defines the classic pumpkin pie.


- In a large bowl, whisk together the pumpkin puree and brown sugar.
- Add eggs and beat until smooth.
- Stir in evaporated milk, spices, salt, and vanilla extract.
- Mix until fully combined and smooth.
Step 3: Assembling the Pie
- Roll out the chilled dough on a floured surface to about a 12-inch circle.
- Transfer to a 9-inch pie dish and trim/flute the edges.
- Pour the pumpkin filling into the crust and smooth the top.
Step 4: Baking
- Preheat oven to 175°C (350°F).
- Bake the pie for 50–55 minutes or until the center is slightly jiggly and a knife inserted near the center comes out clean.
- Cool on a wire rack for at least 2 hours before serving.
Pro Tips for Success
- Use cold butter: This ensures a flaky crust.
- Don’t overmix the filling: This prevents cracking.
- Check your spices: Fresh spices make a noticeable difference.
- Cover the crust: Use foil or a pie shield if the edges brown too quickly.
Variations to Try
Maple Pumpkin Pie
Swap half the brown sugar for pure maple syrup for a richer, deeper flavor.
Gingersnap Crust
Use crushed gingersnap cookies and melted butter for a spiced twist on the base.
Vegan Pumpkin Pie
Replace eggs with flax eggs, evaporated milk with coconut milk, and use a dairy-free crust.
Serving Suggestions
- Top each slice with whipped cream and a sprinkle of cinnamon.
- Serve chilled or at room temperature.
- Add a scoop of vanilla ice cream for extra indulgence.
Storing and Freezing
- Refrigerator: Store leftovers covered for up to 4 days.
- Freezer: Freeze fully cooled pie tightly wrapped for up to 2 months.
- Thawing: Defrost in the refrigerator overnight before serving.
Final Thoughts
This classic pumpkin pie recipe is a celebration of fall flavors and baking traditions. Whether you’re preparing it for the holidays or just because, it delivers every time with its creamy filling and flaky crust. Try it as written, or put your own spin on it. Either way, this recipe is sure to become a seasonal favorite.
Pumpkin Pie Recipe
Description
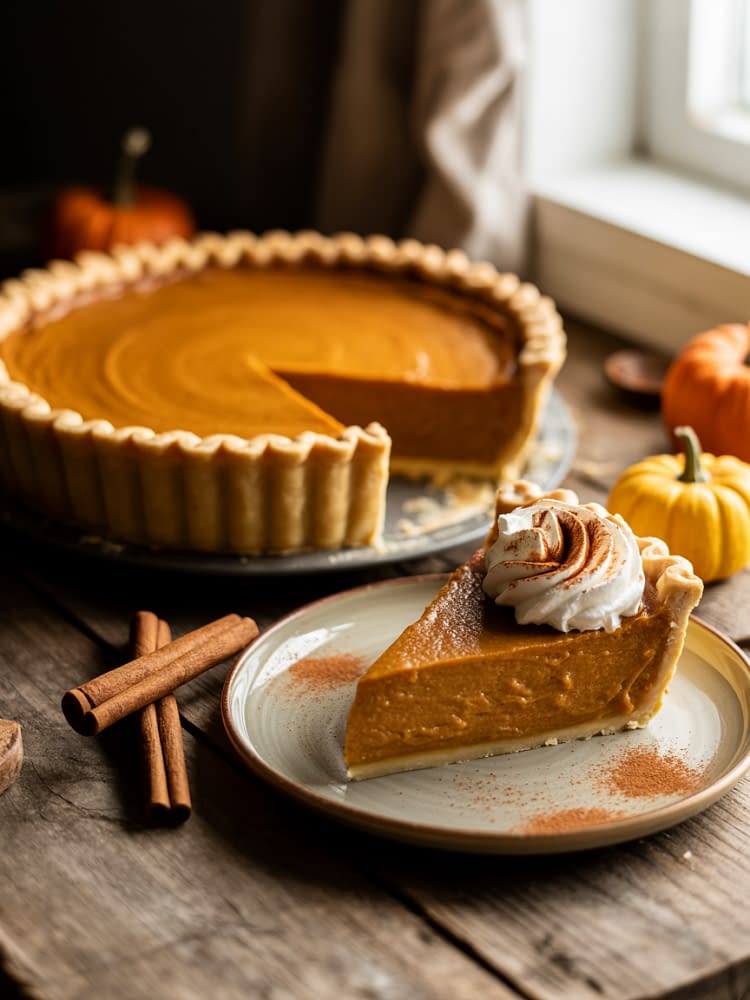
A timeless Thanksgiving dessert, this classic homemade pumpkin pie features a smooth, spiced pumpkin filling baked in a buttery, flaky crust. Made with real pumpkin puree, warm spices, and a touch of brown sugar, it's the perfect fall treat for any occasion.
Ingredients
For the Pie Crust
For the Pumpkin Filling
Optional Garnish
Instructions
Make the Pie Dough
- In a large mixing bowl, whisk together flour, salt, and sugar. Add cold, cubed butter and use a pastry cutter or fingertips to mix until the mixture resembles coarse crumbs. Add ice water one tablespoon at a time, mixing just until the dough holds together. Flatten into a disc, wrap in plastic wrap, and refrigerate for at least 30 minutes.
Roll Out and Prepare the Crust
- On a floured surface, roll the chilled dough into a 12-inch circle. Carefully transfer to a 9-inch pie dish. Trim and flute the edges. Place the pie dish in the refrigerator while preparing the filling.
Prepare the Pumpkin Filling
- In a large bowl, whisk together the pumpkin puree, brown sugar, eggs, evaporated milk, spices, salt, and vanilla extract until smooth and well combined.
Assemble the Pie
- Pour the pumpkin filling into the prepared pie crust. Tap gently to release air bubbles and smooth the surface with a spatula.
Bake the Pie
- Preheat oven to 175°C. Bake the pie for 50–55 minutes or until the center is just set and a knife inserted 2 inches from the center comes out clean. If the crust browns too quickly, tent with aluminum foil.
Cool and Serve
- Allow the pie to cool completely on a wire rack (about 2 hours). Serve at room temperature or chilled with a dollop of whipped cream and a sprinkle of cinnamon.
Note
Storage: Store the pie covered in the refrigerator for up to 4 days.
Make Ahead: The pie crust can be made 2 days ahead or frozen for up to 3 months.
Pumpkin Puree Tip: Use homemade pumpkin puree for a richer flavor, but be sure to strain it well.
Crust Shield: Use a pie crust shield or foil to prevent over-browning of the edges.


