Creating delectable desserts doesn’t always require hours in the kitchen or complex techniques. The No-Bake Oreo Truffles are a testament to how simplicity can lead to extraordinary flavors. These truffles are perfect for those who crave the rich taste of Oreo cookies combined with creamy chocolate, all without turning on the oven. Whether you’re hosting a party, celebrating a holiday, or simply treating yourself, these truffles are sure to impress.
The Origins and Popularity
Oreo cookies, first introduced in 1912 by Nabisco, have become one of the most iconic cookies worldwide. Their unique combination of a sweet, creamy filling sandwiched between two chocolate wafers has inspired countless recipes. The No-Bake Oreo Truffles take this classic cookie to a new level, offering a quick and easy way to enjoy a luxurious dessert without the fuss of baking. Their popularity stems from their simplicity, versatility, and the universal love for Oreo cookies.
Why It’s Worth Trying
These truffles are not only delicious but also incredibly easy to make. With minimal ingredients and no baking required, they are perfect for last-minute gatherings or when you need a quick dessert fix. Additionally, they offer endless customization options—whether you prefer them dipped in white chocolate, dark chocolate, or even drizzled with caramel, you can tailor them to suit any taste preference. Their bite-sized nature also makes them a great option for portion control without sacrificing indulgence.
Step-by-Step Guide to Perfection
Making No-Bake Oreo Truffles is a straightforward process that involves combining crushed Oreos with cream cheese, forming them into balls, and then coating them in your choice of chocolate. Here’s a detailed guide to help you create these delightful treats:
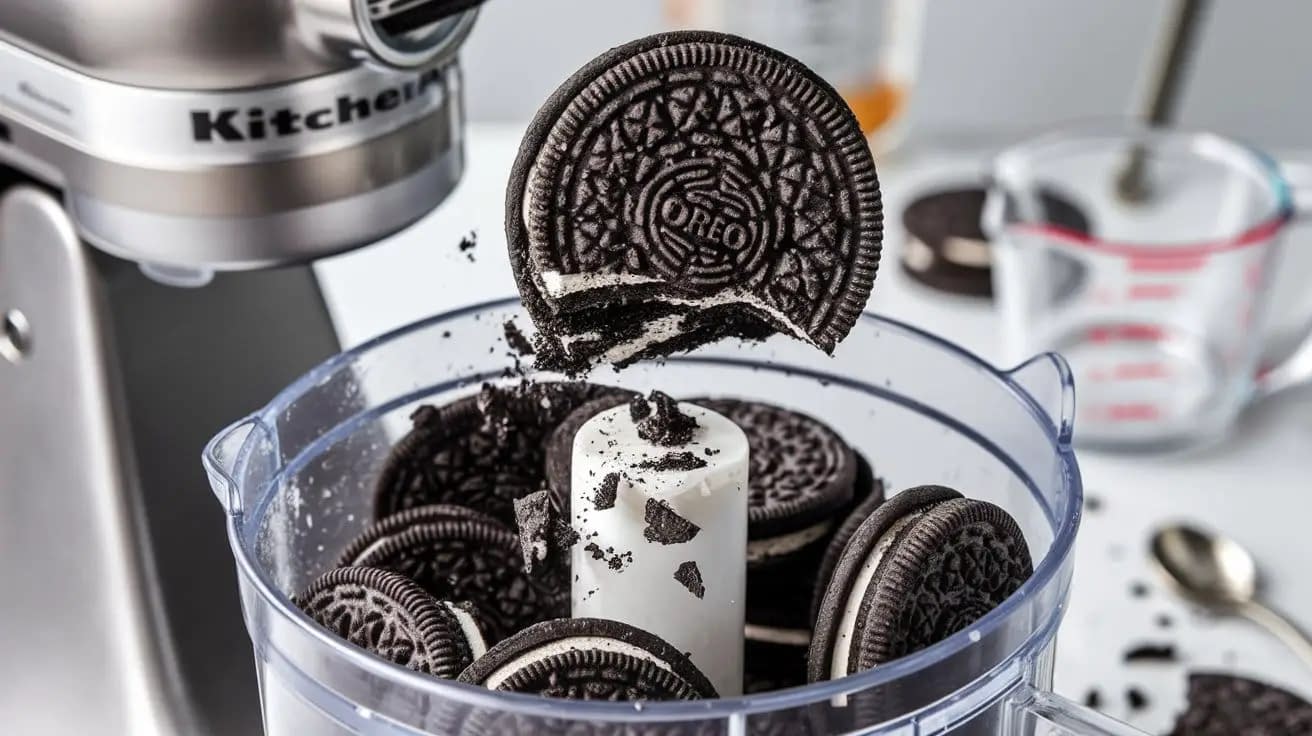
- Prepare the Base: Start by crushing the Oreo cookies into fine crumbs. You can use a food processor for a smoother texture or place them in a sealed plastic bag and crush them with a rolling pin for a chunkier consistency. The texture of the crumbs plays a crucial role in the truffles’ final taste and mouthfeel.
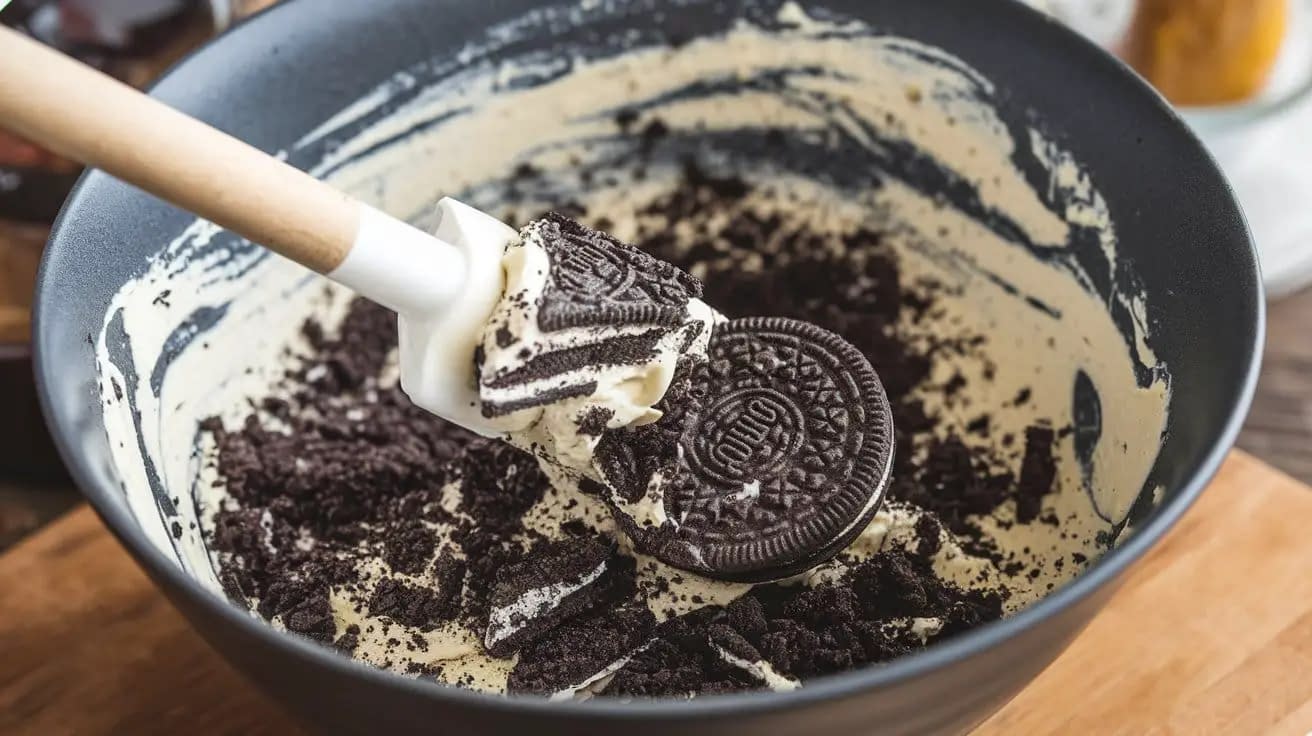
- Mix with Cream Cheese: In a large mixing bowl, combine the crushed Oreos with softened cream cheese. The cream cheese acts as a binder, holding the crumbs together while adding a creamy richness. Mix thoroughly until the mixture is well combined and smooth.
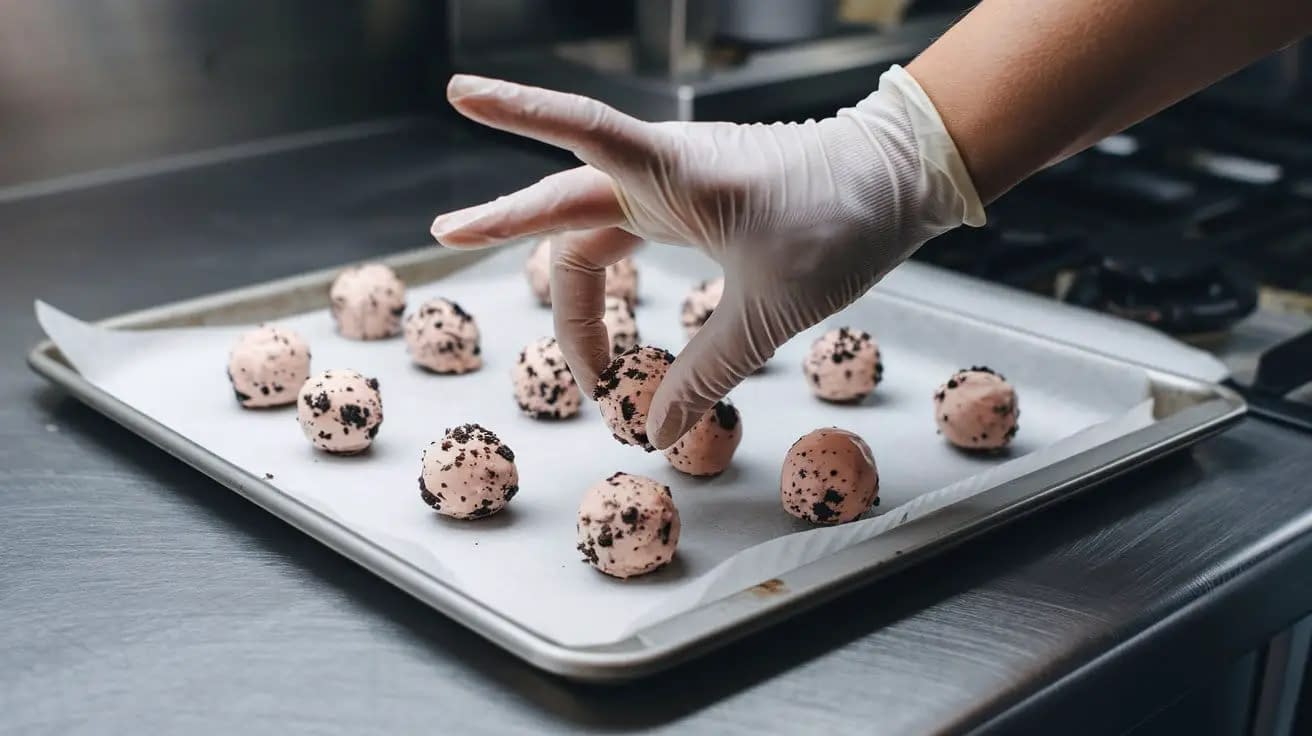
- Form the Truffles: Using a spoon or a small ice cream scoop, portion out the mixture and roll it into small, bite-sized balls. Consistency in size ensures even coating and a uniform appearance. Place the formed truffles onto a baking sheet lined with parchment paper.
- Chill the Truffles: Refrigerate the truffles for at least 30 minutes. Chilling helps them firm up, making them easier to handle during the coating process.
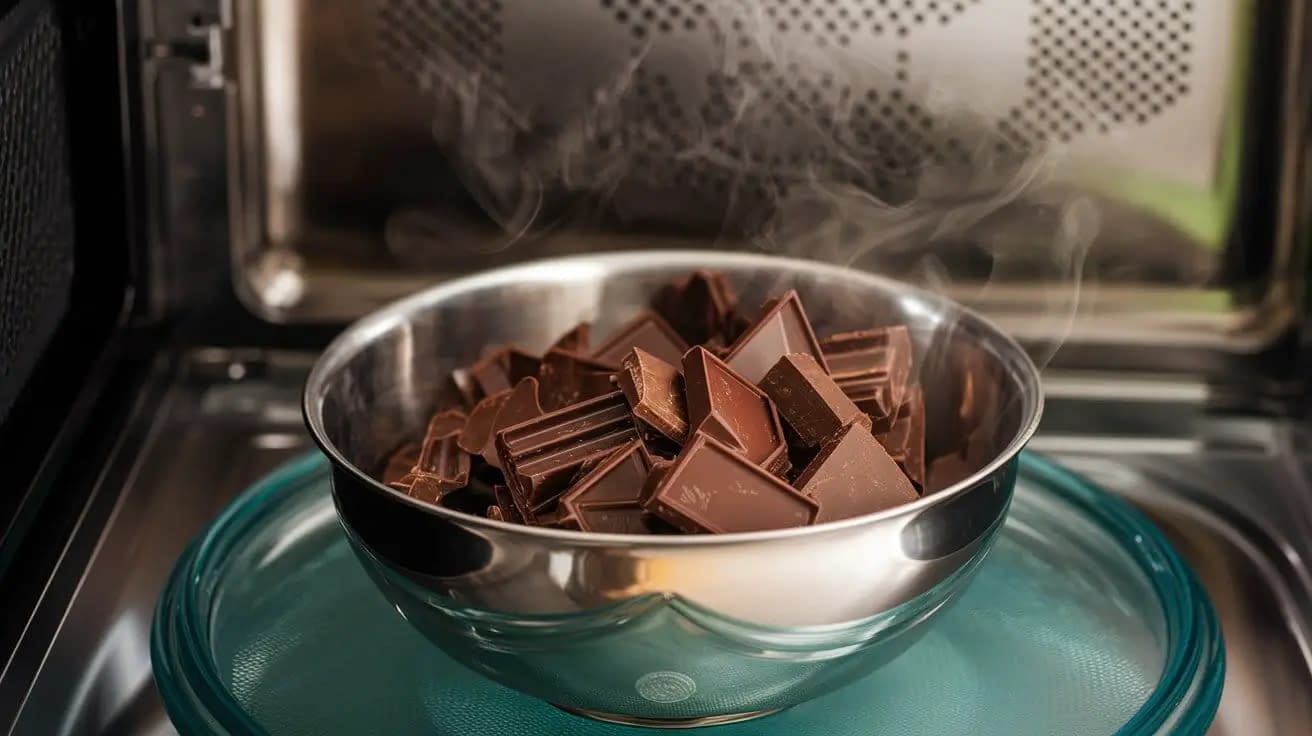
- Prepare the Chocolate Coating: Melt your chosen chocolate in a microwave-safe bowl or using a double boiler on the stovetop. If using a microwave, heat in 30-second intervals, stirring in between to prevent burning. Smooth, glossy chocolate enhances the truffles’ appearance and flavor.
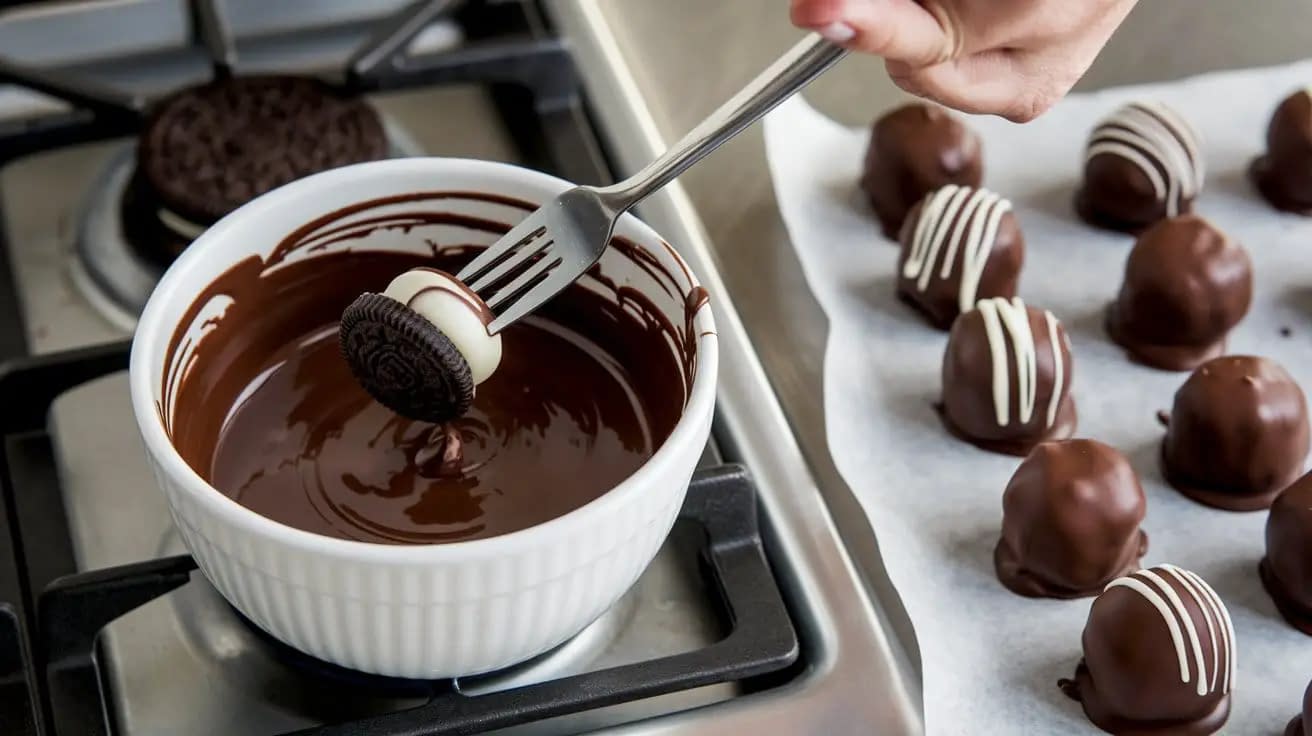
- Dip the Truffles: Using a fork or dipping tool, dip each chilled truffle into the melted chocolate, ensuring it is fully coated. Gently tap off any excess chocolate and place the coated truffle back onto the parchment-lined sheet.
- Add Finishing Touches: Before the chocolate sets, you can add toppings such as sprinkles, crushed Oreos, or a drizzle of contrasting chocolate for an extra layer of flavor and decoration.
- Let Them Set: Allow the chocolate to harden at room temperature or place the truffles back in the refrigerator for quicker setting.
- Serve and Enjoy: Once the chocolate is set, transfer the truffles to a serving platter or store them in an airtight container. They are ready to be enjoyed!
Customization Tips
Feel free to experiment with different types of chocolate for coating—white, dark, or milk chocolate each bring a unique flavor profile. Additionally, incorporating flavors like mint extract or espresso powder into the cream cheese mixture can add an interesting twist to the traditional Oreo flavor.
No-Bake Oreo Truffles Recipe
Indulge in the ultimate sweet treat with these No-Bake Oreo Truffles. Originating from the classic combination of creamy fillings and crunchy cookies, these truffles transform the beloved Oreo into bite-sized delights without the need for an oven. Perfect for parties, holidays, or a quick dessert fix, these truffles are not only delicious but also incredibly easy to make. Their rich chocolate flavor and creamy texture make them a favorite among both kids and adults, proving that you don't need to bake to create a memorable dessert.
Ingredients
For the Base:
For the Coating:
Instructions
Crush the Oreos
Begin by placing the Oreo cookies in a food processor and pulse until they reach a fine crumb consistency. Alternatively, place the cookies in a sealed plastic bag and crush them using a rolling pin until finely ground.
Combine with Cream Cheese
In a large mixing bowl, add the crushed Oreos and softened cream cheese. Using a spatula or hand mixer, blend the mixture until it is well combined and smooth. The mixture should hold together when pressed.
Form the Truffles
Take a small portion of the Oreo and cream cheese mixture and roll it between your palms to form a smooth, bite-sized ball. Repeat until all the mixture is used, placing each truffle onto a parchment-lined baking sheet.
Chill the Truffles
Place the baking sheet with the formed truffles into the refrigerator. Allow them to chill for at least 30 minutes to firm up, which makes the coating process easier.
Melt the Chocolate
Melt the semi-sweet or dark chocolate in a microwave-safe bowl in 30-second intervals, stirring between each interval until smooth. Be careful not to overheat the chocolate to prevent burning.
Dip the Truffles
Using a fork or dipping tool, dip each chilled truffle into the melted chocolate, ensuring it is fully coated. Gently tap off any excess chocolate and place the coated truffle back onto the parchment-lined tray.
Add Decorations (Optional)
Before the chocolate sets, sprinkle decorations like colorful sprinkles or additional crushed Oreos on top of each truffle for added flavor and visual appeal.
Let the Chocolate Set
Allow the chocolate to harden at room temperature or place the truffles back in the refrigerator for about 15 minutes until the coating is firm.
Serve or Store
Once the chocolate is set, transfer the truffles to a serving platter or store them in an airtight container in the refrigerator. They can be served immediately or kept chilled until ready to enjoy.
Nutrition Facts
Servings 24
- Amount Per Serving
- Calories 185.27kcal
- % Daily Value *
- Total Fat 11.76g19%
- Saturated Fat 6.24g32%
- Trans Fat 0.12g
- Cholesterol 11.54mg4%
- Sodium 85.4mg4%
- Potassium 123.97mg4%
- Total Carbohydrate 18.25g7%
- Dietary Fiber 1.27g6%
- Sugars 12.61g
- Protein 2.34g5%
- Vitamin A 30.14 IU
- Vitamin C 0.04 mg
- Calcium 34.35 mg
- Iron 2.47 mg
- Vitamin E 0.5 IU
- Vitamin K 4.85 mcg
- Thiamin 0.03 mg
- Riboflavin 0.08 mg
- Niacin 0.47 mg
- Vitamin B6 0.01 mg
- Folate 1.79 mcg
- Vitamin B12 0.09 mcg
- Phosphorus 61.6 mg
- Magnesium 26.49 mg
- Zinc 0.47 mg
* Percent Daily Values are based on a 2,000 calorie diet. Your daily value may be higher or lower depending on your calorie needs.
Note
Storage: Store the No-Bake Oreo Truffles in an airtight container in the refrigerator for up to one week. They can also be frozen for up to two weeks; thaw in the refrigerator before serving.Variations:
- Chocolate Variety: Experiment with different types of chocolate for coating, such as white chocolate, milk chocolate, or dark chocolate to suit your preference.
- Flavor Enhancements: Add a teaspoon of vanilla extract or a pinch of sea salt to the cream cheese mixture for an extra layer of flavor.
- Toppings: Consider rolling the truffles in cocoa powder, crushed nuts, or drizzling them with caramel or white chocolate for added texture and taste.
Vegan Option: Substitute the cream cheese with a vegan cream cheese alternative and use dairy-free chocolate for the coating.Presentation: For a festive touch, place the truffles in a decorative cup or arrange them on a decorative plate with additional Oreo crumbs sprinkled around.


