
There are desserts that impress, and then there are desserts that stun. Mini Crème Brûlée Cheesecakes fall firmly into the second category. With their buttery biscuit crust, luxuriously creamy cheesecake center, and the signature caramelized sugar topping of a classic crème brûlée, these little indulgences combine two timeless favorites into one unforgettable dessert.
If you’ve ever loved the crack of a spoon against brûléed sugar or the smooth bite of perfectly baked cheesecake, then this recipe is calling your name. They’re elegant enough for dinner parties, approachable enough for casual gatherings, and versatile enough to serve year-round.
In this post, we’ll cover everything you need to know—from ingredients and step-by-step instructions to baking tips, storage solutions, creative variations, and serving suggestions. By the end, you’ll feel confident enough to make these Mini Crème Brûlée Cheesecakes not just once, but again and again.
Why You’ll Love This Recipe
- The Best of Both Worlds: A perfect hybrid between cheesecake and crème brûlée.
- Portion-Controlled: Individual servings make them easy to share (or not share at all).
- Elegant but Accessible: Looks like a fine-dining dessert, but surprisingly achievable at home.
- Make-Ahead Friendly: Bake and chill the cheesecakes ahead of time, brûlée the tops just before serving.
- Crowd-Pleaser: Loved by both cheesecake enthusiasts and crème brûlée purists.
Ingredients You’ll Need
Before diving into the baking process, let’s break down the ingredient list. Each element plays an important role in building flavor, texture, and presentation.
For the Base
- 150 g digestive biscuits (or graham crackers) – Crushed into fine crumbs for a buttery, crumbly crust.
- 60 g unsalted butter (melted) – Binds the crumbs together.
- 1 tbsp granulated sugar – Enhances sweetness and balances the tang of the filling.
For the Cheesecake Filling
- 400 g cream cheese (full-fat, softened) – The foundation of any cheesecake; provides structure and creaminess.
- 100 g sour cream – Adds tanginess and ensures a silky filling.
- 100 g granulated sugar – Sweetens and balances the richness.
- 2 large eggs (room temperature) – Bind the filling and create that classic cheesecake texture.
- 1 tsp vanilla extract – Provides aromatic flavor. (Use alcohol-free vanilla)
- 1 tbsp all-purpose flour (sifted) – Helps prevent cracking by stabilizing the batter.
- 50 ml heavy cream – Adds richness and smooth texture.
For the Crème Brûlée Topping
- 6 tbsp granulated sugar – Caramelized to form the iconic crackly topping.
Step-by-Step Instructions
Step 1: Preparing the Crust
- Preheat your oven to 160°C. Line a 12-cup muffin tin with paper cupcake liners.
- Crush the biscuits into fine crumbs using a food processor (or rolling pin and bag).
- Mix the crumbs with melted butter and sugar until they resemble wet sand.
- Spoon the mixture into each cupcake liner, pressing down firmly to create a compact base.
- Chill the crusts in the fridge while you prepare the filling.
Step 2: Making the Cheesecake Filling
- In a large mixing bowl, beat the cream cheese with sugar until smooth and creamy (around 2 minutes).
- Add sour cream, vanilla extract, and flour. Beat until fully combined.
- Crack in the eggs one at a time, mixing gently after each addition. Do not overbeat; you want to keep air bubbles to a minimum.
- Stir in heavy cream until the batter is silky and lump-free.
Step 3: Baking the Mini Cheesecakes
- Divide the cheesecake batter evenly among the prepared crusts.
- Place the muffin tin inside a larger baking pan. Pour hot water into the pan until it reaches halfway up the sides of the muffin tin (this creates a water bath, which prevents cracks and ensures a creamy texture).
- Bake for 22–25 minutes, or until the centers are set but still slightly jiggly.
- Remove from the oven and let cool completely in the tin before transferring to the refrigerator.
- Chill for at least 2–3 hours (overnight is best) to allow the flavors to deepen and the texture to firm up.
Step 4: Caramelizing the Sugar Topping
- Just before serving, sprinkle ½ tablespoon of sugar evenly over each cheesecake.
- Using a kitchen torch, melt and caramelize the sugar until golden brown and crisp.
- Allow the sugar topping to harden for 2–3 minutes before serving.
Pro Tip: If you don’t have a torch, you can place the cheesecakes under a hot oven broiler for 1–2 minutes. Keep a close eye to avoid burning.
Expert Tips for Success
- Room Temperature Ingredients: Ensure cream cheese, eggs, and sour cream are at room temperature for a smooth, lump-free filling.
- Avoid Overmixing: Overbeating introduces too much air, which can cause cracks during baking.
- Use a Water Bath: This ensures even baking and a silky cheesecake texture.
- Chill Properly: Don’t rush the chilling process—this step is key for the flavor and structure to develop.
- Caramelize Just Before Serving: The brûlée topping loses its crunch if made ahead, so torch it right before enjoying.
Serving Suggestions
- Classic Style: Serve plain to highlight the contrast between creamy cheesecake and crunchy caramel topping.
- With Fresh Fruit: Add raspberries, strawberries, or blueberries on the side for a burst of freshness.
- With Whipped Cream: A small swirl of whipped cream balances the richness.
- As Part of a Dessert Table: Perfect for weddings, birthdays, or holiday gatherings alongside macarons and mini tarts.
Variations to Try
- Citrus Twist: Add 1 tsp orange or lemon zest to the cheesecake filling for a bright flavor.
- Chocolate Base: Swap digestive biscuits for chocolate cookies to create a richer crust.
- Coffee-Infused: Stir 1 tsp instant espresso powder into the filling for a mocha-flavored version.
- Salted Caramel Brûlée: Add a sprinkle of flaky sea salt on top of the caramelized sugar for a sweet-salty touch.
- Festive Flair: Garnish with edible gold leaf or candied cranberries for a holiday-worthy presentation.
Storage & Make-Ahead Tips
- Refrigeration: Store in an airtight container for up to 4 days.
- Freezing: Freeze the cheesecakes (without the brûlée topping) for up to 2 months. Thaw overnight in the fridge before adding sugar and caramelizing.
- Transporting: Keep chilled and brûlée at your destination to ensure the topping remains crisp.
Why Mini Cheesecakes Are Better Than Full-Sized Cheesecakes
One of the biggest advantages of mini cheesecakes is portion control and versatility. Unlike a large cheesecake, minis bake faster, chill quicker, and offer a more refined presentation. They also make it easier to serve guests without messy slicing, ensuring each portion looks as beautiful as the last.
Plus, with individual servings, you can experiment with different flavors and toppings in a single batch. Imagine half with classic brûlée tops, a few with chocolate-dipped strawberries, and some with caramel drizzle. The possibilities are endless.
Final Thoughts
Mini Crème Brûlée Cheesecakes are the ultimate dessert for anyone looking to impress without spending days in the kitchen. They’re luxurious, versatile, and surprisingly simple once you master the steps. With a crisp caramelized top, creamy cheesecake center, and buttery base, these little gems strike the perfect balance of texture and flavor.
Mini Creme Brulee Cheesecakes Recipe
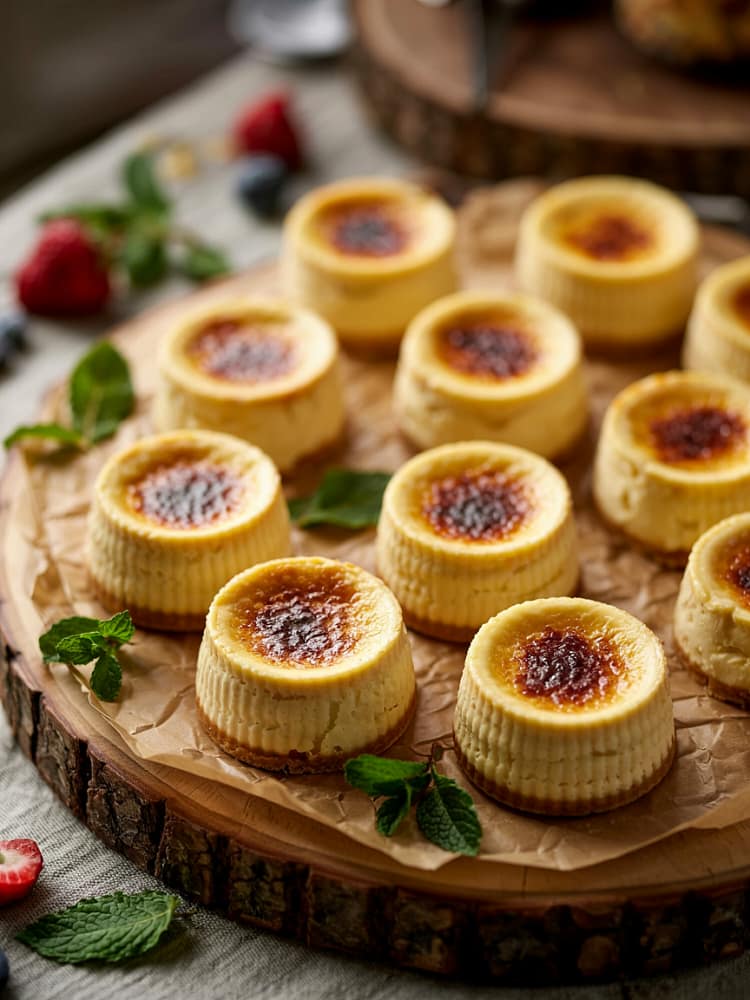
Mini Crème Brûlée Cheesecakes are the perfect fusion of two classic desserts: the rich creaminess of cheesecake and the caramelized sugar crunch of crème brûlée. These individual-sized treats are elegant, creamy, and indulgent, making them ideal for dinner parties, holiday gatherings, or when you want a special dessert with a sophisticated twist.
Ingredients
For the Base
For the Cheesecake Filling
For the Crème Brûlée Topping
Instructions
Prepare the Base
-
Crush the digestive biscuits into fine crumbs using a food processor or rolling pin. Combine with melted butter and sugar until the texture resembles wet sand. Divide the mixture evenly into a lined muffin tin with paper cupcake liners, pressing down firmly to form the base. Chill in the refrigerator while preparing the filling.
Make the Cheesecake Filling
-
In a large bowl, beat the softened cream cheese with sugar until smooth and creamy (about 2 minutes). Add sour cream, vanilla extract, and flour, mixing until incorporated. Gently beat in the eggs one at a time, scraping the sides of the bowl. Finally, stir in heavy cream until the mixture is silky.
Bake the Mini Cheesecakes
-
Preheat oven to 160°C. Pour the cheesecake filling evenly over the prepared crusts. Place the muffin tin in a larger baking pan and fill with hot water halfway up the sides (water bath method for even baking). Bake for 22–25 minutes until the centers are set but slightly jiggly. Remove from oven and let cool completely in the tin. Chill in the refrigerator for at least 2 hours.
Caramelize the Tops
-
Just before serving, sprinkle 1/2 tbsp granulated sugar evenly over each mini cheesecake. Use a kitchen torch to melt and caramelize the sugar until golden and crisp. Allow the sugar to harden for a few minutes before serving.
Note
Storage: Store cheesecakes in an airtight container in the refrigerator for up to 4 days. Caramelize sugar just before serving to keep the topping crisp.
Make-Ahead Tip: Cheesecakes can be made a day ahead and stored chilled. Brûlée the sugar at the last minute.
Variation: Add a hint of orange zest to the filling for a citrusy twist, or top with a few fresh raspberries before serving.
Halal-friendly: Recipe contains no haram ingredients; ensure vanilla extract is alcohol-free if strictly required.


