Rustic Dutch Oven Biscuits Recipe
Experience the comforting warmth of freshly baked biscuits with this Rustic Dutch Oven Biscuits recipe. Originating from traditional Southern American baking, these biscuits boast a flaky exterior and a tender, buttery interior. Perfect for breakfast, brunch, or as a side to your favorite meal, cooking biscuits in a Dutch oven imparts a delightful, evenly baked texture that's hard to achieve with conventional baking methods. Whether you're an outdoor enthusiast or simply love the charm of rustic cooking, this recipe is a must-try for biscuit aficionados.
- 4 cups all-purpose flour
- 1 tablespoon baking powder
- 2 teaspoons salt
- 1/2 cup unsalted butter (cold and cubed)
- 3/4 cups buttermilk (cold)
- 2 tablespoons melted butter
- 1 tablespoon honey
- 1 teaspoon coarse sea salt
- 1 Prepare the Dry Ingredients
In a large mixing bowl, combine 4 cups of all-purpose flour, 1 tablespoon of baking powder, and 2 teaspoons of salt. Whisk together until well mixed to ensure even distribution of the leavening agent and seasoning.
- 2
Incorporate the ButterAdd 1/2 cup of cold, cubed unsalted butter to the dry mixture. Using a pastry cutter or your fingertips, work the butter into the flour until the mixture resembles coarse crumbs with pea-sized pieces of butter remaining. This technique ensures flaky layers in the final biscuits.
- 3
Add the ButtermilkGradually pour 1 3/4 cups of cold buttermilk into the mixture while stirring gently with a wooden spoon. Mix until the dough just comes together; avoid overmixing to keep the biscuits tender.
- 4
Knead the DoughTransfer the dough onto a lightly floured surface. Gently knead it by folding the dough over itself 5-6 times until it is smooth. Pat the dough into a 1-inch thick disk to prepare for cutting.
- 5
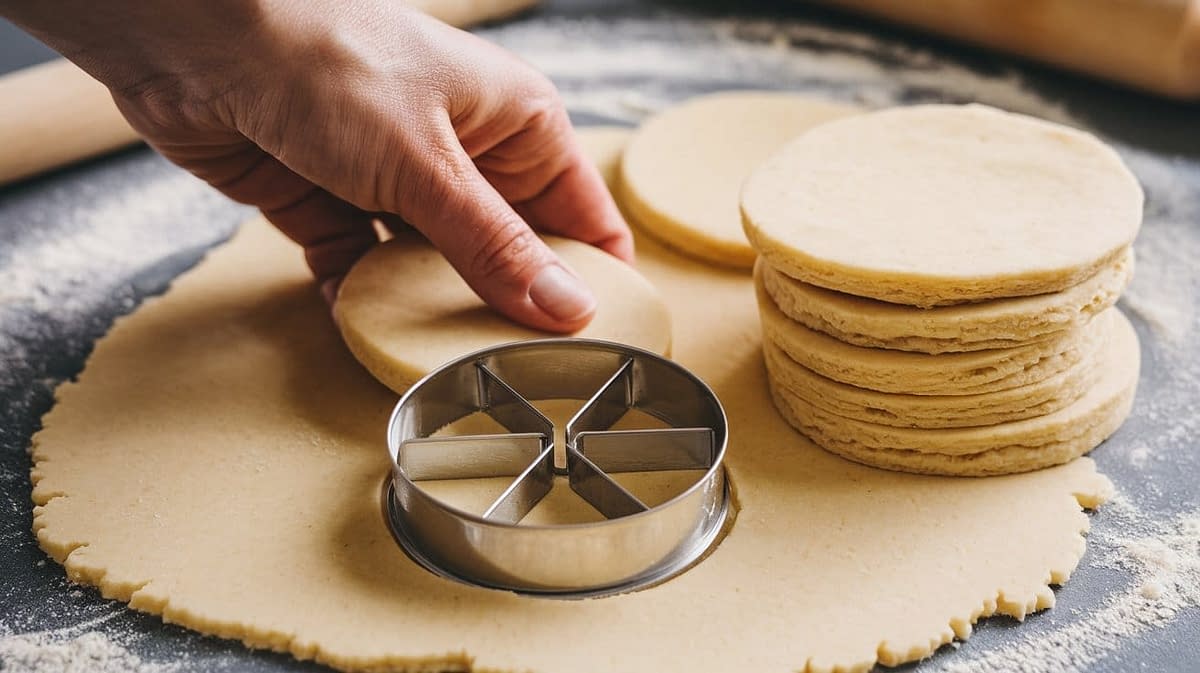
Cut the BiscuitsUsing a floured biscuit cutter, cut out biscuits from the dough, pressing straight down without twisting to ensure they rise evenly. Re-roll the scraps as needed until all dough is used. Place the cut biscuits on a floured surface, allowing them to rest briefly.
- 6
Prepare the Dutch OvenPreheat your Dutch oven over medium heat. While heating, brush the inside with melted butter to prevent sticking and to add a rich flavor to the biscuits.
- 7
Bake the BiscuitsCarefully place the biscuits into the preheated Dutch oven, ensuring they have space to rise. Cover with the lid and bake at 200°C for 15 minutes. After 15 minutes, remove the lid and bake for an additional 5 minutes or until the tops are golden brown and flaky.
- 8
Apply the ToppingOnce baked, remove the Dutch oven from heat. Brush the tops of the biscuits with 2 tablespoons of melted butter and drizzle with 1 tablespoon of honey. Sprinkle with 1 teaspoon of coarse sea salt to enhance the flavors.
- 9
Serve and EnjoyAllow the biscuits to cool for about 10 minutes before serving. Enjoy them warm with your favorite spreads, soups, or as a delightful standalone treat.
Note- Cold Ingredients: Ensure that the butter and buttermilk are cold to achieve the flakiness in the biscuits.
- Overmixing: Avoid overmixing the dough to prevent tough biscuits. Mix until just combined.
- Variations:
- Cheddar Herb Biscuits: Add 1 cup of shredded cheddar cheese and 2 tablespoons of chopped fresh herbs (like rosemary or thyme) to the dough for a savory twist.
- Sweet Cinnamon Biscuits: Incorporate 2 teaspoons of cinnamon and 1/4 cup of sugar into the dry ingredients for a sweet version.
- Storage: Store leftover biscuits in an airtight container at room temperature for up to 2 days or freeze for up to 3 months. Reheat in the oven before serving.
- Serving Suggestions: Perfect with butter, jam, honey, gravy, or as a side to soups and stews.
Flaky, Buttery, Traditional, Rustic, Easy - 2


